5 top articles to get your project done with power tools
Get your Project Done Faster with a Power Sander
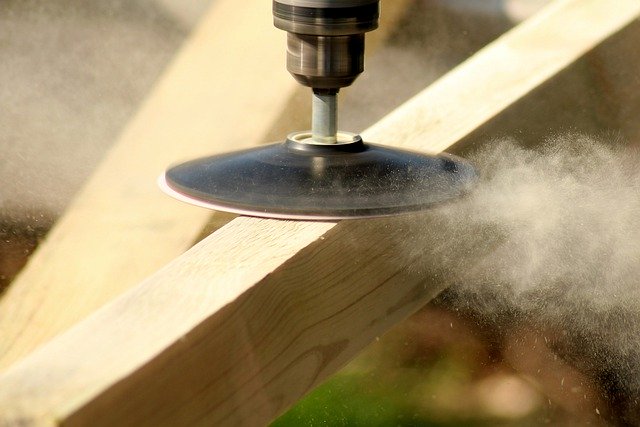
Sanding is a common part of many projects, especially painting. It helps to get the area prepped and smooth. Using a power sander will get the job done with excellent results in a lot less time. It will save your arms some hard work as well. They are many types of sanders available. Make sure you change the sandpaper or disc often to get the best results and further reduce the amount of time the sanding project takes you.
You want to use one with a high level of power and that fits well in your hand. You may wish to have a large sander for big jobs and a smaller one for small areas and finishing touches. Sanders can be with a cord or cordless. For most jobs, you can sand with and against the grain. Don’t put too much pressure on the sander as you use it. This will only hinder its performance. Keep a firm grip on it but the sanders should be able to move freely. Some sanders offer a warning light that tells you when you are using too much pressure.
A belt sander, just as the name implies, uses a belt to remove the materials. The handles are designed to help you manipulate the power tool without too much pressure on your part. Disc sanders are commonly used for grinding. They require stone or disc depending on the material you are working with.
Orbit sanders use sandpaper. It comes in a variety of sizes and grades. The grade of sandpaper is determined by the number of sand granules on each square inch of the sandpaper. The lower grade numbers mean it is coarser. Higher grade numbers mean the paper is finer. To cut your time down, start with very coarse sandpaper. As you are about to complete the project switch to finer sandpapers to give you a great finish. Make sure you use the right type of sandpaper for the material you are working with. The sandpaper is very inexpensive so it is a good idea to buy a variety of grades and types to have on hand.
A finish sander is a very small power tool, but it is very efficient. It also uses sandpaper. It is a good type of sander to work for finishing work. A detail sander is your best option for tight corners. It has a triangle-shaped tip so it can get into places other sanders can’t reach.
Sanders result in a great deal of dust particles remaining. Make sure you wear eye protection. A respirator is recommended as well to prevent you from inhaling the dust. This is especially important if you are working at an angle where the dust is coming directly down on you, such as overhead sanding. You can also choose to purchase a dust bag for the sander.
Wearing long sleeves is a good idea as well. Some of the products you may be sanding could have chemicals or the paint could contain lead. These dangerous materials could enter your skin through the pores. Make sure you have a well-ventilated work area and that cords and other objects are out of the way.
Sanders is great for getting materials ready to stain or paint. Make sure you thoroughly clean up all the dust before you begin to paint or sand. Any remaining particles of dust from the sanding can get trapped in the paint or stain, and it will be noticeable when your item has finished drying.


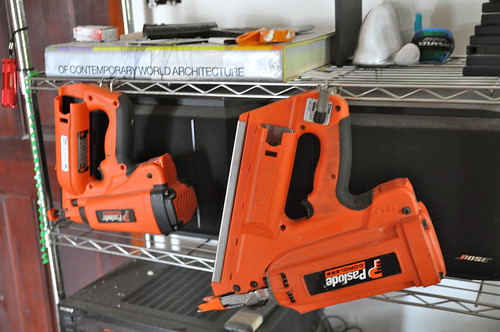
Get your Project Done Quicker with a Power Nailer
The days of spending your time hammering long nails to complete your project are over! No more wasted time or sore arms from the repetitive motion. A power nailer will get the job done fast and efficiently. It is a great way to ensure every nail is secure as well as straight. You can sink thousands of nails in a single day with a power nailer. It is great for large projects such as roofing.
There are two types of power nailers to choose from. A stick power nailer uses a strip of nails that slide into the nailer, just like you load a stapler. The amount of nails it can hold at one time varies. On average, it is approximately 50 nails. This type of power nailer is great for small projects. For larger tasks, consider using a coil power nailer. They hold up to 300 nails at a time.
It is very important that you use the proper power nailer for your particular project. It is best to select a power nailer that is versatile unless you have specific ongoing use for a particular type of power nailer. Where you plan to use the power nailer is something to consider as well. Do you have a power source readily available or will you be better off going with a cordless power nailer model?
Pneumatic power nailers operate with air pressure that is supplied by a small air compressor. If you choose this type of power nailer, make sure you have an air compressor that is sufficient to handle the power of the power tool. You should check the amount of pressure necessary to operate the power nailer before purchasing.
Since power nailers are often used for roofing and other construction work, you might consider getting a cordless model. They often are just as powerful as the models that operate on compressed air. They come with very effective batteries that are long-lasting. Some operate with compressed gas in a canister. Both types are very effective, so it is a personal preference. It also depends on if you want to hassle with recharging the battery.
To help you decide on the best model of power nailer for your needs, consider these features. Make sure any power nailer offers you what you will need to complete your particular project. Find out if the power nailer has a jam release. You don’t want to stop working throughout the day to spend time figuring out how to unjam the power nailer.
You will want a power nailer that offers you an adjustable depth controller. This is because you will want to use it for different lengths of nails. It will also help you get the nails sunk in even with the surface of the project or even countersink them.
Since the reasoning behind purchasing a power, nailer is to give you the ability to put in large quantities of nails in a short amount of time, it should be easier to control. You want to select a power nailer that fits well in your hands and has a good fit. A heavy power nailer can be difficult to operate for long periods of time. How easy is it to load the nails into the power nailer? You want one that is very efficient. You should be able to reload it, even with work gloves on, in just a few seconds.
There are many different types of nails you can choose from. For the best results, make sure the nails you are using work well in your model of power nailer as well as for the particular project you are working on. You should always wear protective eyewear and work gloves while operating any type of power nailer. It is a good idea to purchase a power nailer that offers some sort of guard for your protection as well.


How to Select the Right Power Tool for your Project
To get the best results with any project, it is essential that you choose the right power tool. There are so many to choose from that it can be difficult. There are many things to consider for each type of power tool. Most of us have a particular brand name we are loyal to. Price, quality, and warranty are also factors that heavily influence a power tool purchase.
It may surprise you, but 29% of power tools are purchased by women. It is likely some of those power tools are for their own personal use and the others are to give as gifts for family members, friends, co-workers, and significant others. When in doubt as to what to get a man, go for a power tool. Make sure it is something he wants and will use though!
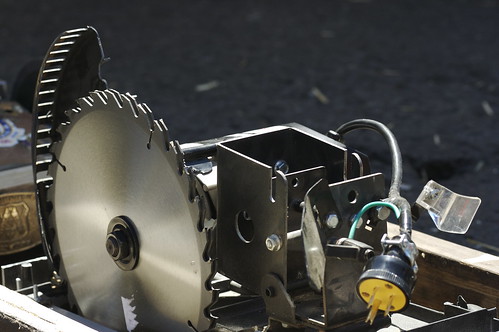
While you may be using the right saw for the project, are you using the right blade? This is going to make a difference in the type of cut you end up with. Rip blades cut with the grain of the materials. It has deep teeth along parts of the blade to help remove the material as it cuts. You will get a fast cut, but not necessarily a clean one. A crosscut blade has teeth on both sides of the blade. As it glides across the material, it alternates sides that it cuts with. This is going to give you a very nice cut.
There are combination blades available, and they are commonly used instead of switching between a rip blade and a crosscut blade. The fewer teeth, the more rugged the cut it going to be. Combination blades with many teeth will give you the cleanest cut. There are specialty blades available as well. Refer to the manual that came with your power tool to find out if a specialty blade is recommended.
The right power tool combined with the right accessory is going to make any type of project go smoother as well as affect the quality of the outcome. In many cases, you have the option of several tools that may get the job done, but take the time to find out which one is going to work best. Weigh the pros and cons of each one. It is also going to depend on what hand tools you already have. Buying a new one makes sense if it is going to help you accomplish projects, but probably not worth the expensive if you only plan to use it once or twice.
Hand size and strength is very important whey you are selecting the right power tools. Many people don’t take that into consideration. Try the models on display in the store. If the tool feels heavy, imagine how much more so it is going to get when you have been operating it for several minutes?
Some of the smaller hand tools are designed to get into very small spaces, but if you have large hands it may not work well for you. Don’t forget the population that is left-handed. Most power tools can be used by either a right-hander or a left-hander. Others such as saws can be difficult because of how the guide and the blade are set up.
The owner’s guide that comes with any power tool will give you great pointers on what projects it is to be used for. If you have a particular project in mind, searching through all of those manuals can be time-consuming. Try using the internet to look up the project you are going to do and you should find information on the best power tools to use for the job. You will likely find some very helpful hints for the project as well. The perfect combination is using a power tool you know how to operate, fits well in your hands, and is designed for the project you are working on.


Use a Router to Enhance your Projects
A router is a very effective power tool for enhancing the design of any project. You can use a router on wood, fiberglass, and plastic. Use a router to engrave, shape, groove, or to make inlets. The cutting action on a router comes from the sides of it rather than the tip. For the best results, go with the grain as you use the router.
There are several different sizes of routers to choose from with various amounts of power and speeds. Some people enjoy using a router with a diamond wheel accessory so they can detail glass and ceramic items. Routers can be frustrating at first, but don’t be discouraged. Practicing with a router will show you exactly what it can and can’t do.
Make sure you don’t move the router too slow or you can burn the area you are working on. It can also make your bit very dull. Moving the router too fast is dangerous as well because your work with being rough and you will likely break your bit. It will take some time for you to get the feel for the right amount of pressure and speed to use with your router. If you listen to the router closely you will be able to hear a different sound when you are operating it correctly.
A creative person can do some amazing things with a router! The more knowledge you have about how your particular model of router works, the handier it will become. Routers are available with or without a cord. For the best results with a router, choose one that has a high amount of horsepower. It will be more versatile and help you complete your work accurately.
Regardless of the brand or size of the router you choose to work with, it will have three basic parts – the base, motor, and collet. The motor is actually located inside of the base. The bit of the router is held in place by the collet. There are several different bases to choose from. A fixed base has a bottom plate that is round, side handles, and an adjustable height. Some models come with accessories attached to the side.
The D-shaped handle base offers a trigger to make the router turn on and off. It is very convenient. The base you choose depends on your own personal preference. Both styles are very efficient. If you plan to do a great deal with the router, consider purchasing a kit that has both bases, allowing you to interchange them.
Routers have more accessories than any other power tool on the market. There are several hundred bits you can choose from. A common accessory is a router table. They are great for trying to router very small parts, as they hold everything securely in place for you.
Routers are often quite loud, so make sure you wear earplugs. They can also result in large amounts of dust particles in the air depending on the type of material you are working with. A respirator is a good idea if you are using a router on wood. Always wear eye protection when you operate a router. Don’t forget that the tip of the router may be hot when you are done using it.


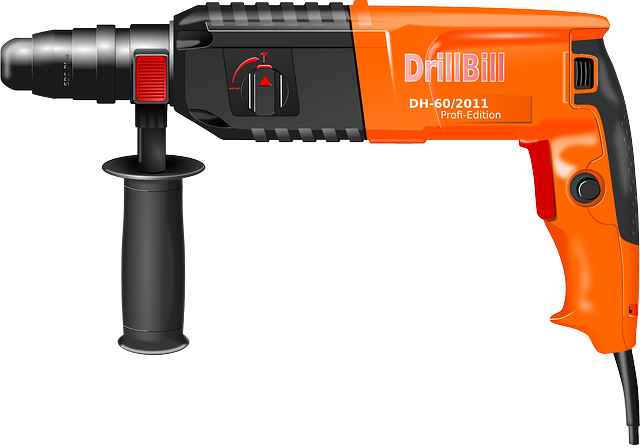
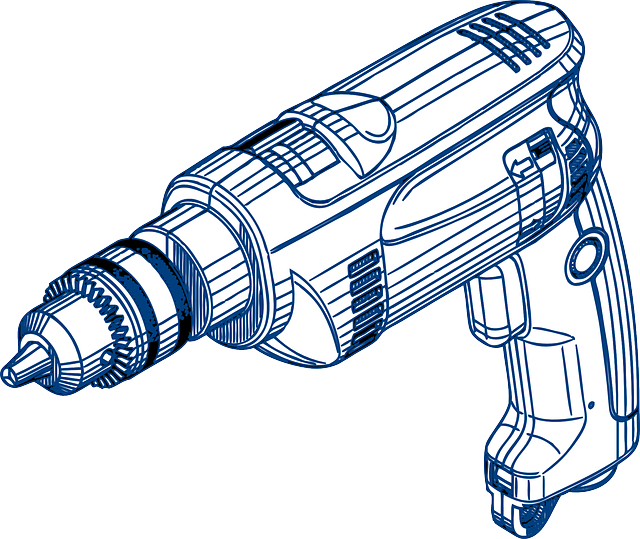
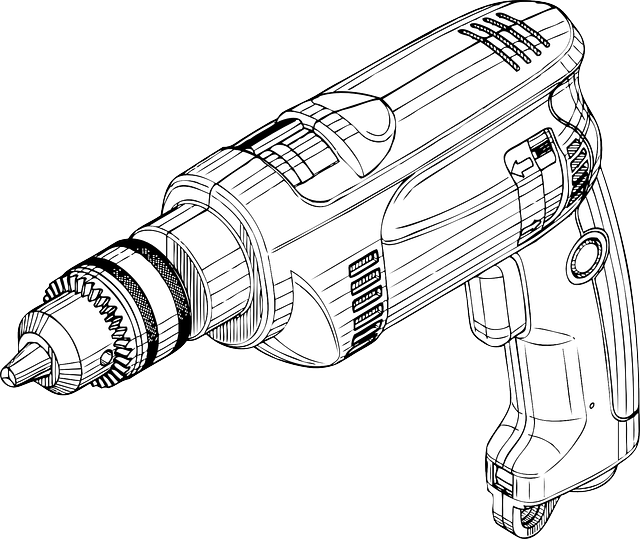
Using a Drill to get your Project Done
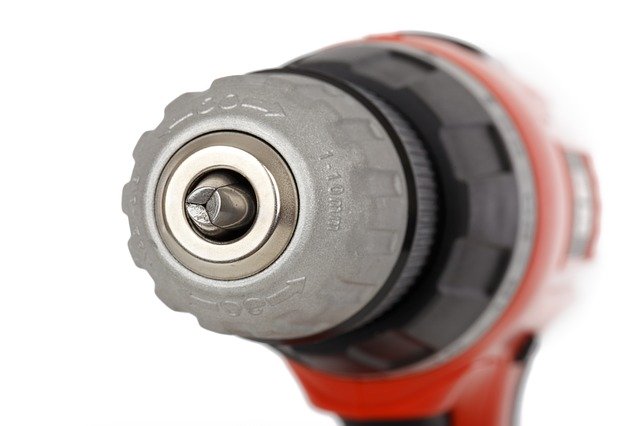
Drills are a commonly used power tool for a variety of projects. It is very important that you use the right drill for a particular project. Power drills come in a variety of sizes. They are sized by the largest size of the shank that will fit into the chuck. You will get more speed with a larger sized drill.
Drills are classified as being for light, medium, or heavy-duty work. They start at 2 amps and go up to 5 amps. It is a good idea to purchase a drill that has more than one speed. This will give you more control when you are using it for various projects. One speed do work well, but sometimes it will take you longer when you are doing a project. If the speed it too fast for the particular project then you can damage your project.
Different sized drills can handle a project better than others. It also depends on the types of materials you are working with such as concrete, metal, plastic, and wood. Do you want a drill that is fast or one that offers a great deal of torque? Maybe you need a drill that offers both for a heavy-duty job? It is a good idea to evaluate what you plan to do with a drill both now and in the future before you make this decision.
An angle drill is great for getting into tight spaces. Choose a model that allows you several positions for the drill to operate in. It is also a good idea to use one that is lightweight. Some of the positions you have to use it in won’t give you enough area to have both hands on it.
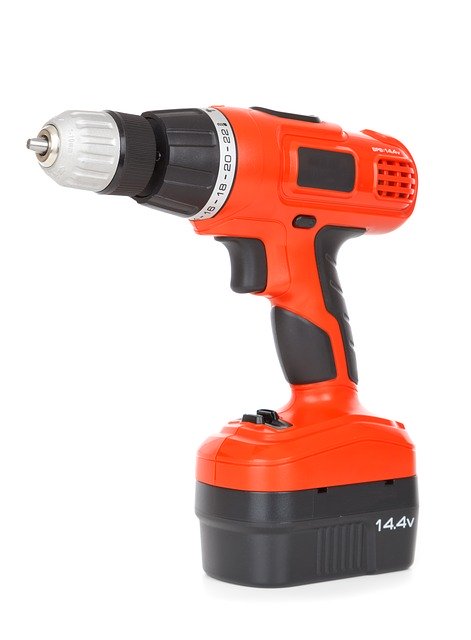
You can choose to use a drill with or without a cord. The cord models are traditional, but cordless drills help reduce accidental falls due to tripping over the cord and possible electrocution. You can also use them in places where a power source isn’t conveniently located. One drawback is the possibility of the battery going dead.
Make sure you fully charge it on the power pack before you need it. Some people prefer to have an extra battery if they use their cordless drills often. They keep one in their drill and the other charged for a fast, easy swap.
Never force a drill to go in. If it is having difficulty, back it out some and then proceed slowly. You can damage the drill and cause injury to yourself it you attempt to drill a larger hole then the drill is capable of completing. Always wear safety glasses or goggles when you operate any type of drill. Always unplug the drill before you change the bit in it.
A drill is a very useful power tool that is versatile enough to be used for a variety of projects. Making sure you use the right type of drill for the material you are working with as well as the right type and size of the drill bit will ensure you get the best possible results from your drill. A drill bit chart is very useful. It lists the various types of drill bits and what they are recommended for. You can print one out for free from the internet.